Top knot style is one of our best choices in summer as it can make you feel more fresh and cool. However, most of the girls do not know how to do a topknot. No worries! It’s just about few simple steps. Let’s follow the guides below:
The Messy Top Knot Bun
Perfect for keeping hair off your face while you’re running the weekend errands, this non-chalant look is so easy to replicate and we wouldn’t be surprised if it became your new favorite go-to. This is ideal for those that want to wave bye bye to a skyscraper of a ponytail and hello to a trend-setting, textured look.
Step 1 – Run fingers through hair
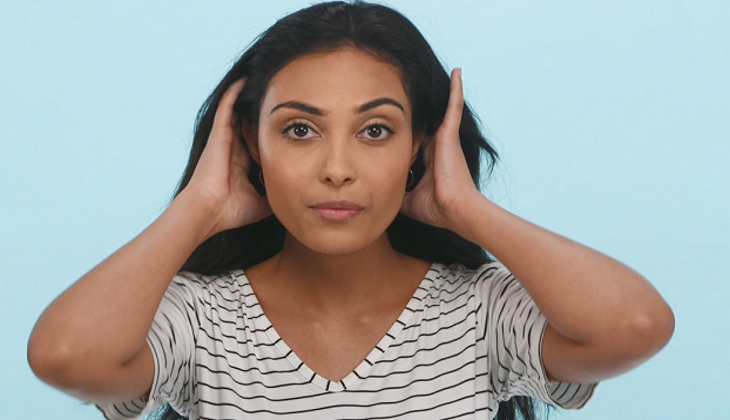
Run fingers through the hair, they’ll be no using a brush in this look. In fact, second day hair is the best base for this style.
Step 2 – Use sea salt spray
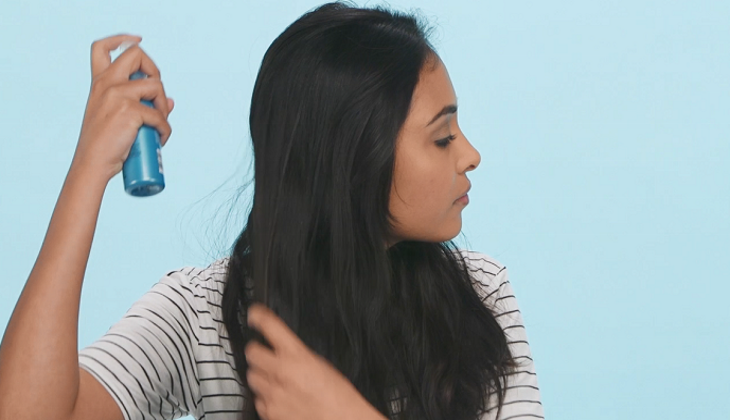
To create added texture, apply sea salt spray all over the hair.
Step 3 – Sweep hair into high ponytail
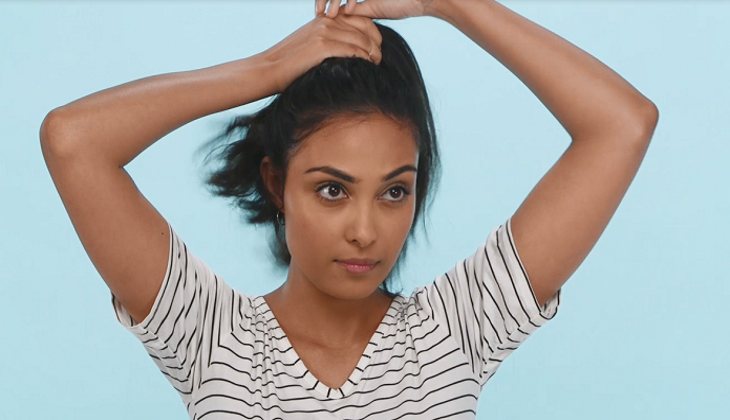
Using your fingers only, work the product through the hair and proceed to gather into a high ponytail. Secure with a clear band.
Step 4 – Twist hair into bun
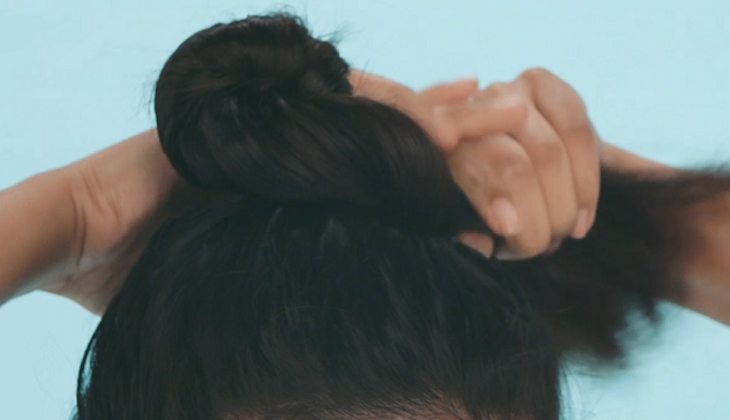
Twist the hair in the ponytail until it goes around itself and forms a bun. Use a clear band to secure.
Step 5 – Tug hair for a messy finish
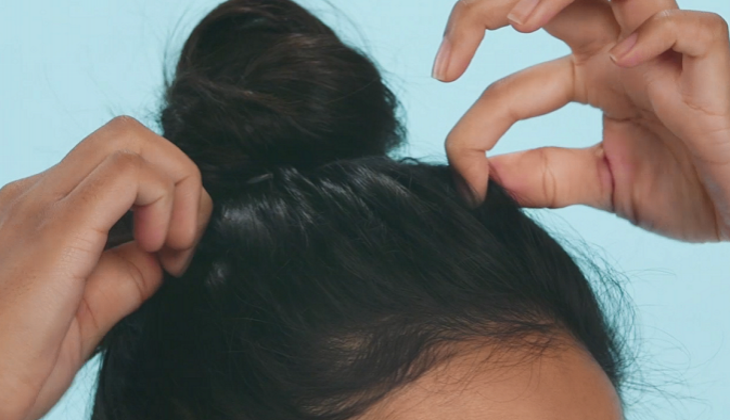
Pull bits of hair out of the bun to create that messy, voluminous look. Tug the hair at the front of the ponytail too for an ‘undone’ finish. To tame any unsightly bits of hair, use a bobby pin to secure. Finish and set with hairspray.
That’s a wrap!
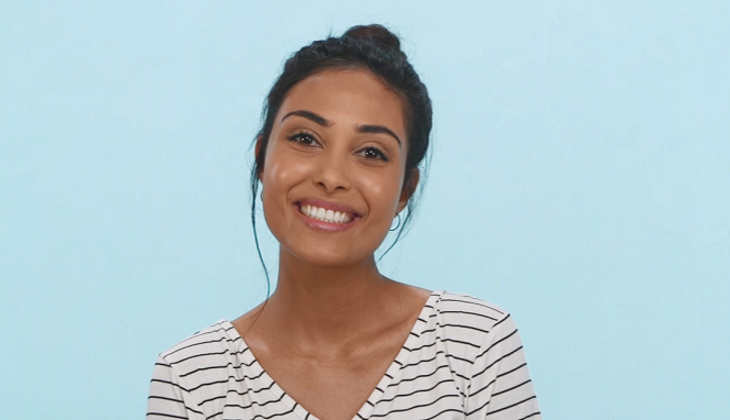
Messy is the new must-have – now that’s something to smile about!
The Double Top Knot
If you’re suffering from a serious case of festival fever, then this style will get you in the mood before the first tent has been pitched. Want to channel mermaid vibes? A little scattering of glitter along the parting will go a long way.
Step 1 – Brush through hair
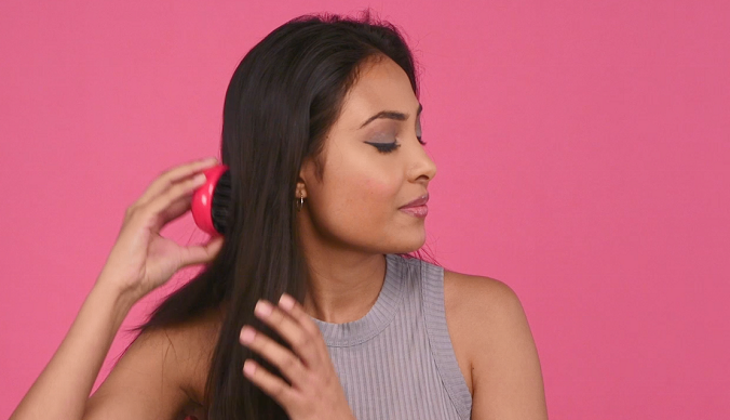
Using a detangler, brush through hair until it is knot-free. This will make the hair more manageable when styling.
Step 2 – Create a zig zag parting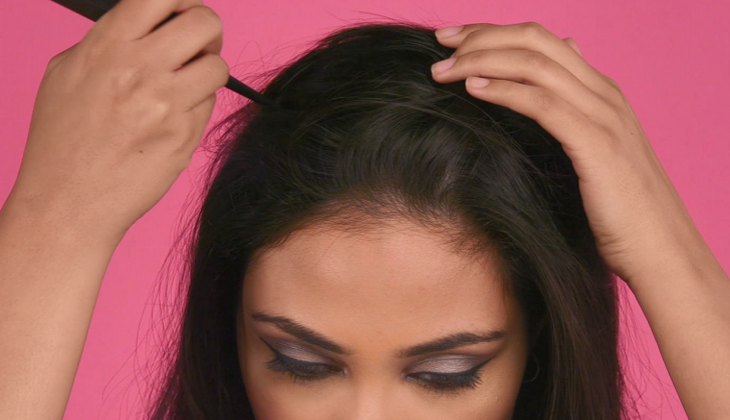
Take a tail comb and create a zig zag parting. Do this by combing hair back, and zig zagging all the way down to the crown.
Step 3 – Section hair
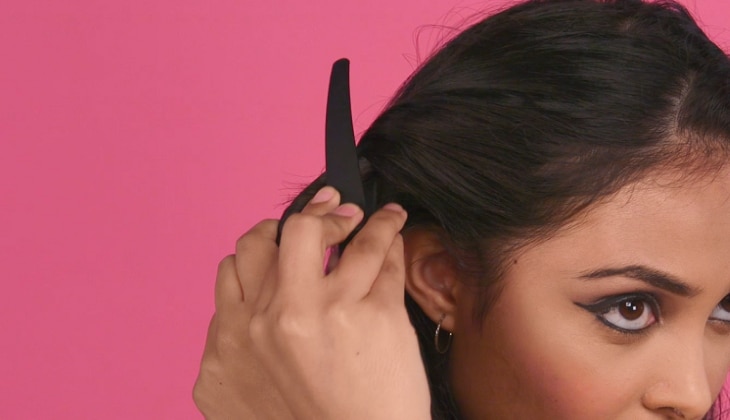
Take two sections, either side of the head, from the tips of your ears all the way to the crown. When you’re happy with the thickness, separate both sections with a clip. Also, clip the remaining hair too so it is out of the way.
Step 4 – Gather hair into high ponytails
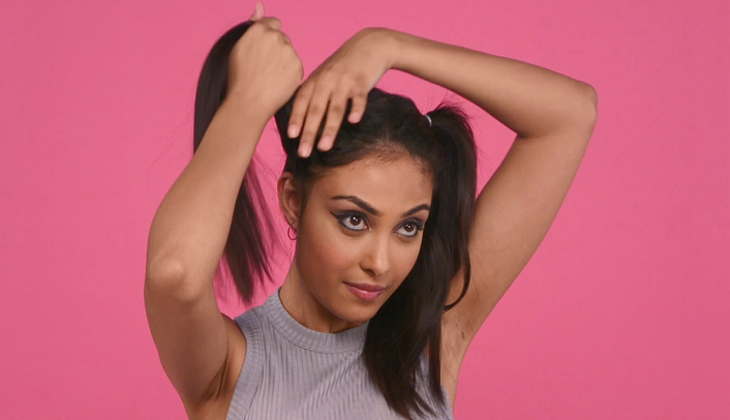
Unclip one front section and run through with a detangler brush to smooth out. Gather the hair into a high ponytail and secure with a clear band. Repeat on the other side.
Step 5 – Twist hair into bun
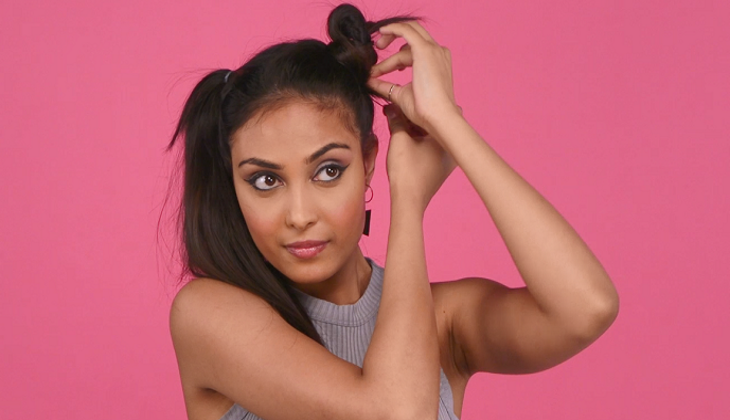
Starting with one ponytail, begin twisting in a motion away from the face. Once all the hair is twisted, start wrapping it around itself to create a bun. Secure with a hair pin underneath the clear band and pin all the way through as needed. Repeat steps on the other ponytail and release hair that was clipped.
Step 6 – Use hairspray to secure
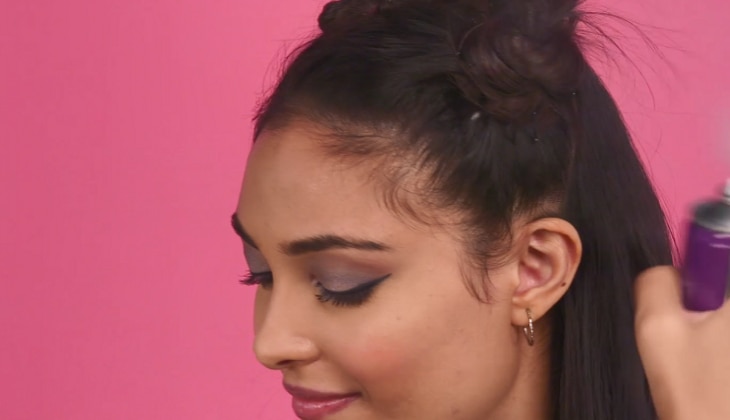
Finish look with a generous application of hairspray for extra hold.
Get your favorite health, beauty and wellness products at Watsons. Shop online here!


