How to Use a Beauty Blending Sponge
Long gone are the days where a makeup brush was the only way to apply and blend makeup like a pro. There are now a whole host of products out there which you can use including oval brushes and beauty blending sponges, but why use a blending sponge compared to the other alternatives?
Benefits of Using a Beauty Blending Sponge
Blending sponges are amazing for flawless, even coverage and are also very versatile. A makeup sponge can be used to apply foundation, concealer, highlighter and contouring sticks – obviously it’s recommended to thoroughly clean your sponge each time you apply a product.
What makes blending sponges different is the unique egg shape. The large round base is ideal to evenly apply makeup to skin and the small tip can be used to apply makeup in hard to reach areas. Although these do come in various shapes by far the most popular is the egg or tear drop shaped sponge.
How to Use:
Step 1: Wet the Blending Sponge
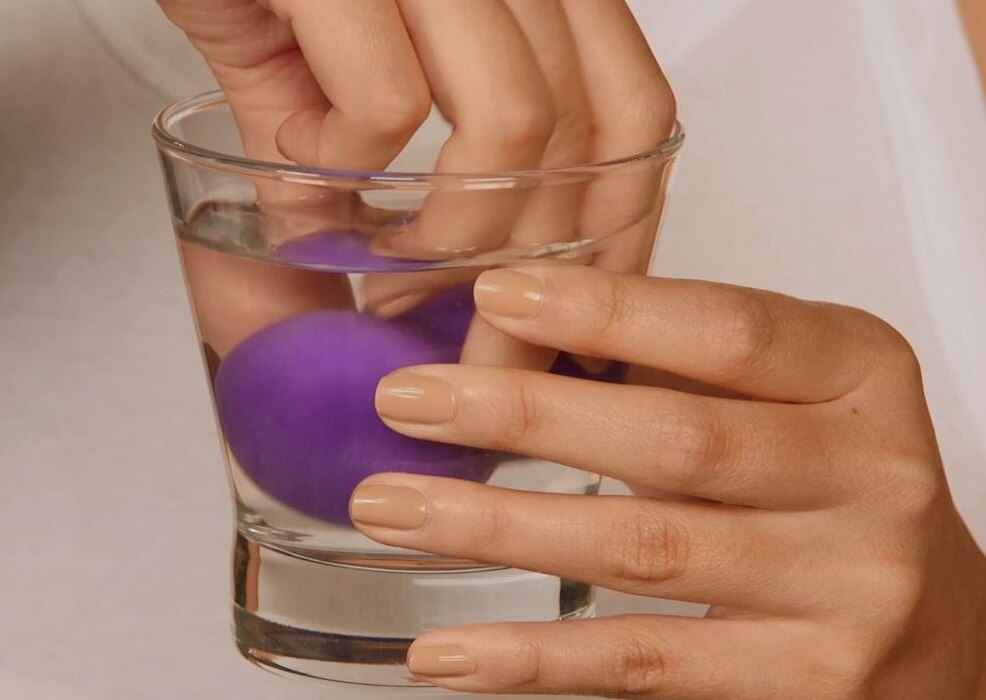
Dip the beauty blending sponge into a glass of clean water until it’s completely saturated and then squeeze out any excess water, this will prevent the sponge from soaking up too much product.
Step 2: Dab the Back of Your Hand
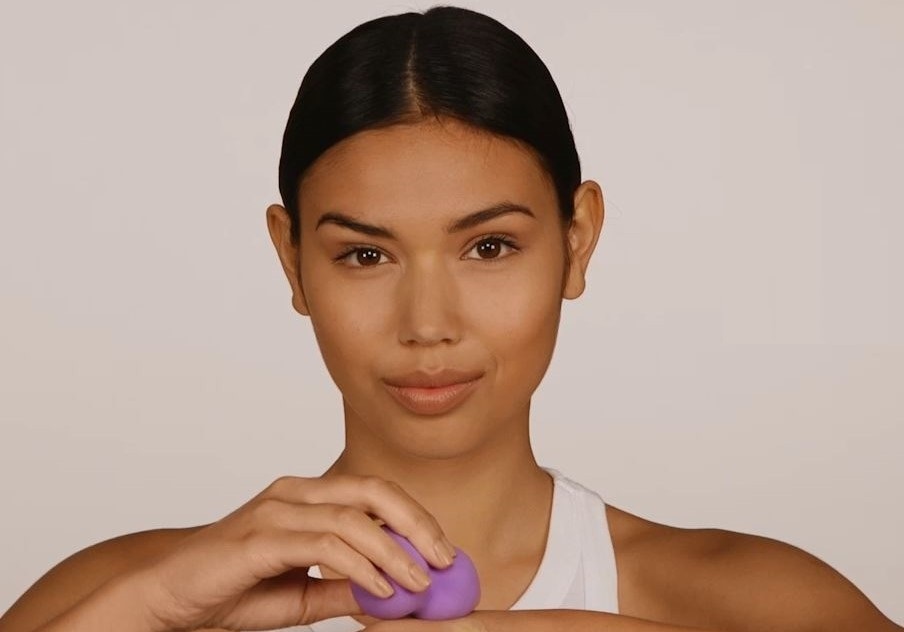
Apply a small amount of make up to the back of your hand, roughly pea-sized, and dab the large end of the blending sponge onto the makeup.
Step 3: Stipple on MakeUp
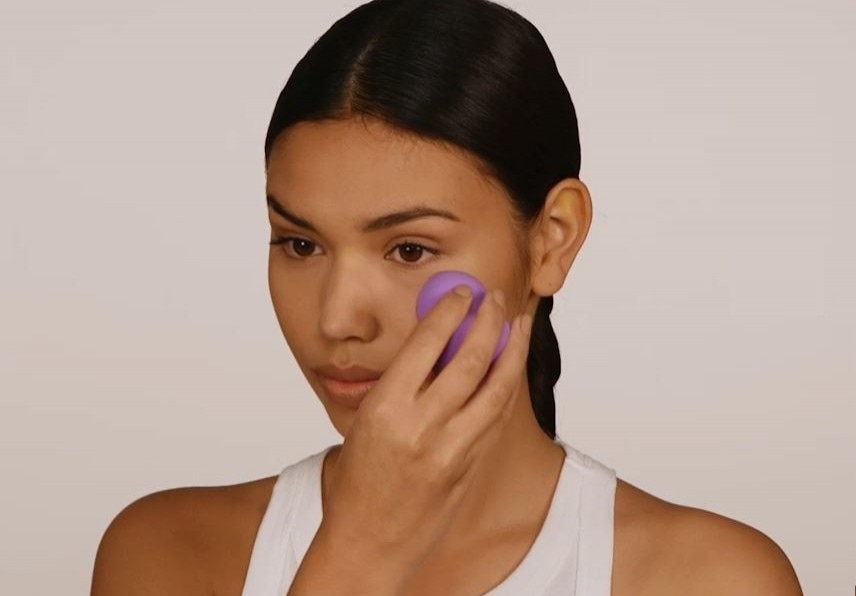
To apply your product use a dab and twisting motion, this is referred to as stippling. Stippling is a great way to deposit makeup evenly across the skin and also blend. Use the tip of the blending sponge to get into tricky areas like around the nose.
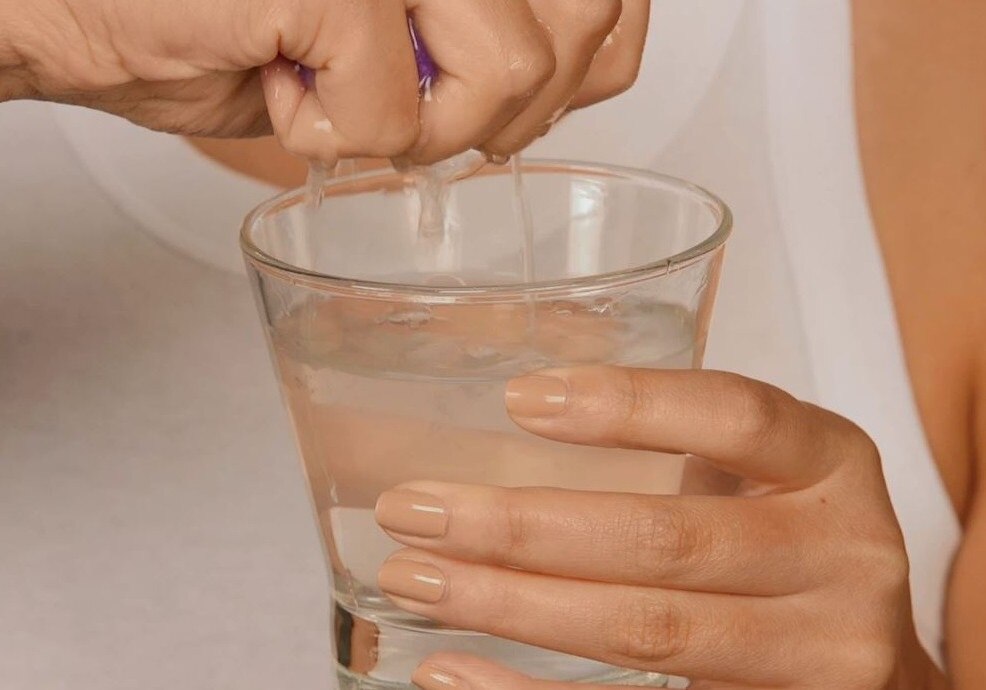
Step 4: Dip the Sponge Back Into Water
Dip the beauty blending sponge back into water and squeeze out any excess water until the sponge is damp.
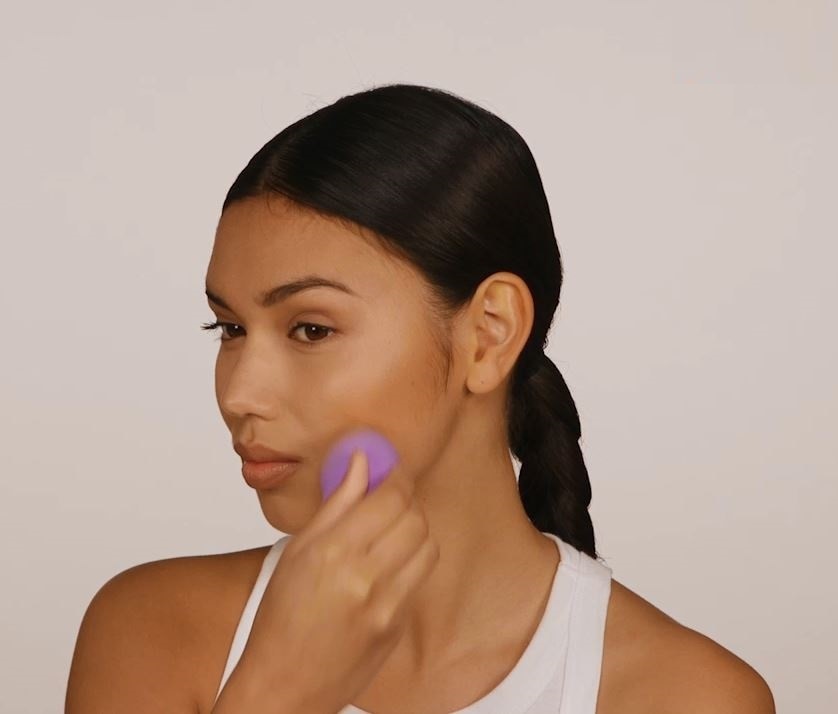
Step 5: Set Your MakeUp
Finally, stipple the makeup sponge across your face to set your makeup and that’s it. Happy blending.
Get your favorite health, beauty and wellness products at Watsons. Shop online here!


